Adding a Target
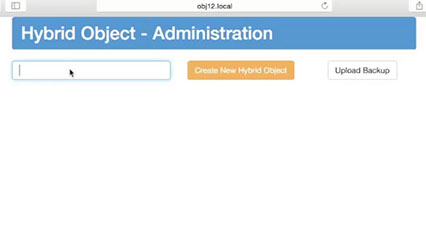 To create a Hybrid Object through the developer interface, access the following address with your web browser:
http://[arduinoName].local:8080/
Your arduino name is the name you defined in the setup of your arduino board. If you have not made any changes to the name, this name is simply “arduino”.
 To create your first object, simply enter your desired object name into the empty field and click “Create New Hybrid Object.”
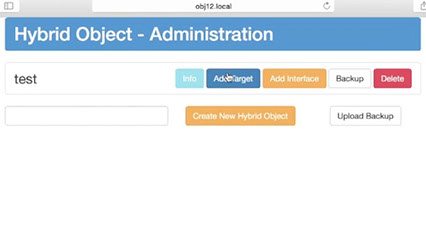
Once you have created your object, it should appear in the list of objects in your browser. This tutorial will be working with an object named “test.”
The color of the “Add Target” and “Add Interface” buttons tell us that we have begun to create a hybrid object, but we have not completed its creation. In a completed object, both buttons appear green. Once we have added an interface and a target to our object, the object will be live and the buttons will be green.
Add a Target to an Object
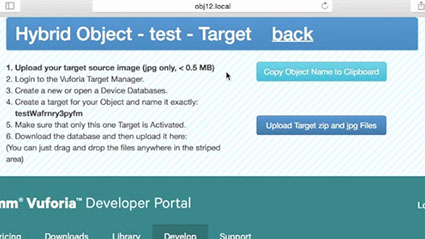 A target is an image that allows the computer vision software to correctly identify your object. Each object that you create needs to have a unique target attached to it. An appropriate target image is one with many edges and without repeating patterns. Your image file MUST be a JPG file. Other image formats ARE NOT compatible. To add a Target to your object, hit the “Add Target” button in the row associated with the object you wish to alter. You should find the following page.
First, drag and drop your image JPEG target onto the striped area of the page. Second, proceed with the Vufoira Target Manager.
Vufoira Target Manager
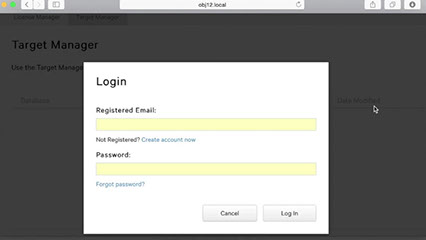 If you have already created a Vuforia Target Manager Account, log in now. Otherwise, follow the included instructions to create a new account.
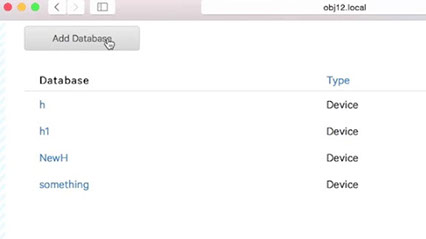 Once you have logged into the embedded Vuforia page, click the “Target Manager” button in the main menu. You will now be able to create your own database by clicking the button “add Database”.
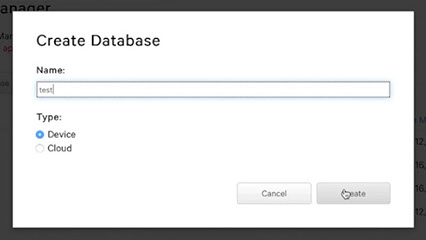 You will be asked for a Name and Type. Choose a name and select “Device” as Type.
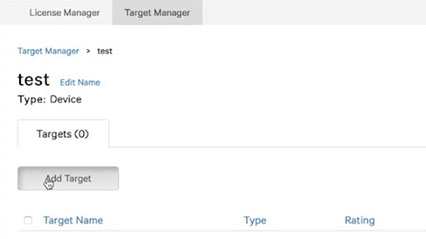 After you create and name your new database, a new link to your database should appear on the page. Click on your new database. The database created for the purposes of this tutorial is named “test”
Now you can add your target image to your database. Click the “Add Target” button.
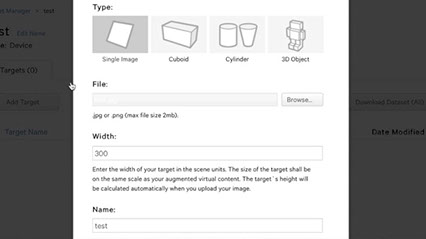 In the Add Target menu, the name of your target should be copied from the fourth bullet point at the top of the main page, which has created a unique target name for you.
Select “Single Image” from the options for “Target Type.” Enter the value 300 for the width of the new target.
You can choose a target image from the target image folder provided in the Examples, which you downloaded earlier. Any of these images will work as a target for your new object.
Complete the creation of your new target by clicking the “Add” button, then return to the main database page that you created earlier.
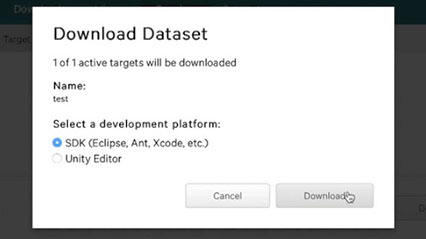 On the new database page, you can now select your newly created target. Do so, and then click the “Download Selected Targets” button. Select SDK to download your new target as a .zip file.
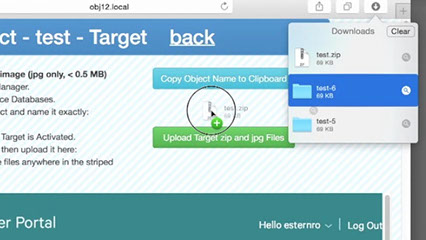 Once you have downloaded the .zip file of your database, drag and drop it anywhere in the striped area at the top of the page. This will finish the process of adding a target to your object.
Click the “Back” link at the top of your screen to return to the main page. After creating an interface and uploading the vuforia target and the jpg target image for your new object, the "target" and "interface" buttons on the main page should change to green.